Set up your guild
This page walks you from “I just registered” to “we ran a raid and points moved”. About fifteen minutes the first time; everything you do here is one-off setup.
The four steps:
- Register and create the guild.
- Pick your tracked items.
- Run your first raid (Step 1 / 2 / 3 lifecycle).
- Share the public link with your raiders.
1. Register and create the guild
Register an account — username, email, password. You’ll be asked to verify the email — check the inbox, click the link. Verification is required before you can do anything else.
Once signed in, you’ll land on /guilds if you don’t own one yet. Click Create guild. Pick a name and a slug. The slug is the URL fragment your raiders will bookmark — short, all-lowercase, no spaces (justapug, meaw-pug, weeknight-naxx).
You’re the owner of the new guild. The next page is your guild’s points page, empty for now.
2. Pick your tracked items
Top nav → Items. Click + Add by instance to bulk-add. Pick the instance you’re raiding, tick the items your group reserves, click Track selected.
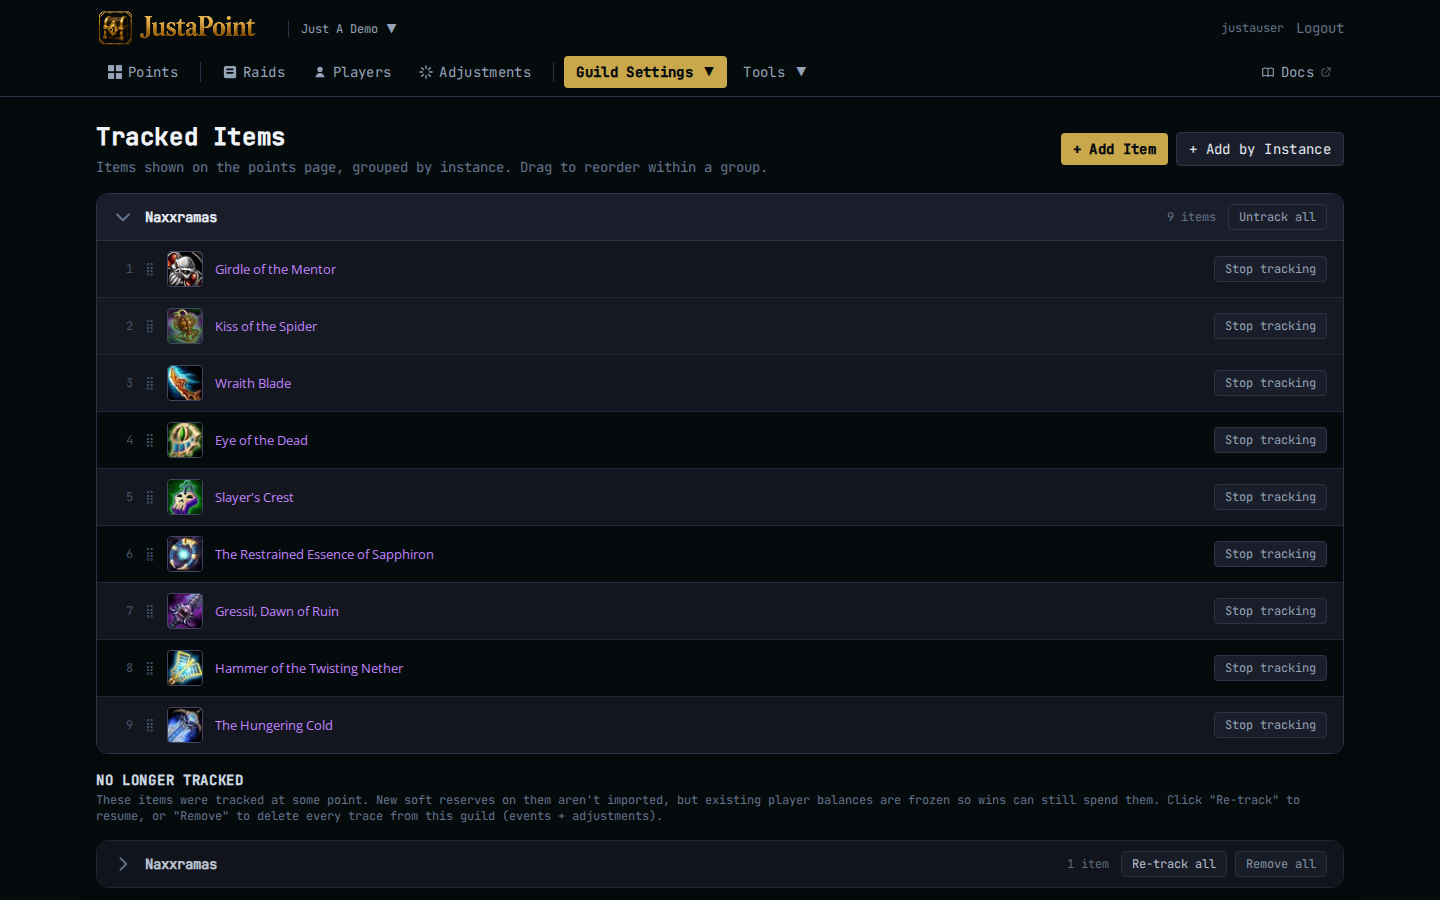
Start small — roughly 20-30 items per instance is the sweet spot for a Classic Era group. You can always come back and add more. Tracked items goes into how to pick.
The setup wizard panel at the top of the page tracks your progress: Step 1 (tracked items), Step 2 (create your first raid), Step 3 (export to the addon), Step 4 (share the public link). It dismisses itself once all four are done.
3. Run your first raid
Top nav → Raids. Click New Raid — a card opens at the top of the list, in edit mode, with three numbered steps top to bottom. Walk them.
The full walkthrough is Run a raid — that’s the page you’ll click most often forever. For the first-ever raid:
- Step 1 · Reserves. Paste your softres.it URL, click Load from SoftRes.
- Step 2 · Export for raid. Click JustAPoint Addon. The blob is on your clipboard. In WoW:
/jp import→ paste → Import. - Step 3 · End of raid · Wins import. After the night, paste the addon’s end-of-raid export back, click Import.
That’s the whole raid lifecycle. Three minutes of website work per night once you’re used to it.
4. Share the public link
Top of the points page, click the copy icon in the Public link banner. Paste it in your raid Discord — typically a pinned message in #loot or #raid-info. That URL is what every raider bookmarks; no login, no install on their side.
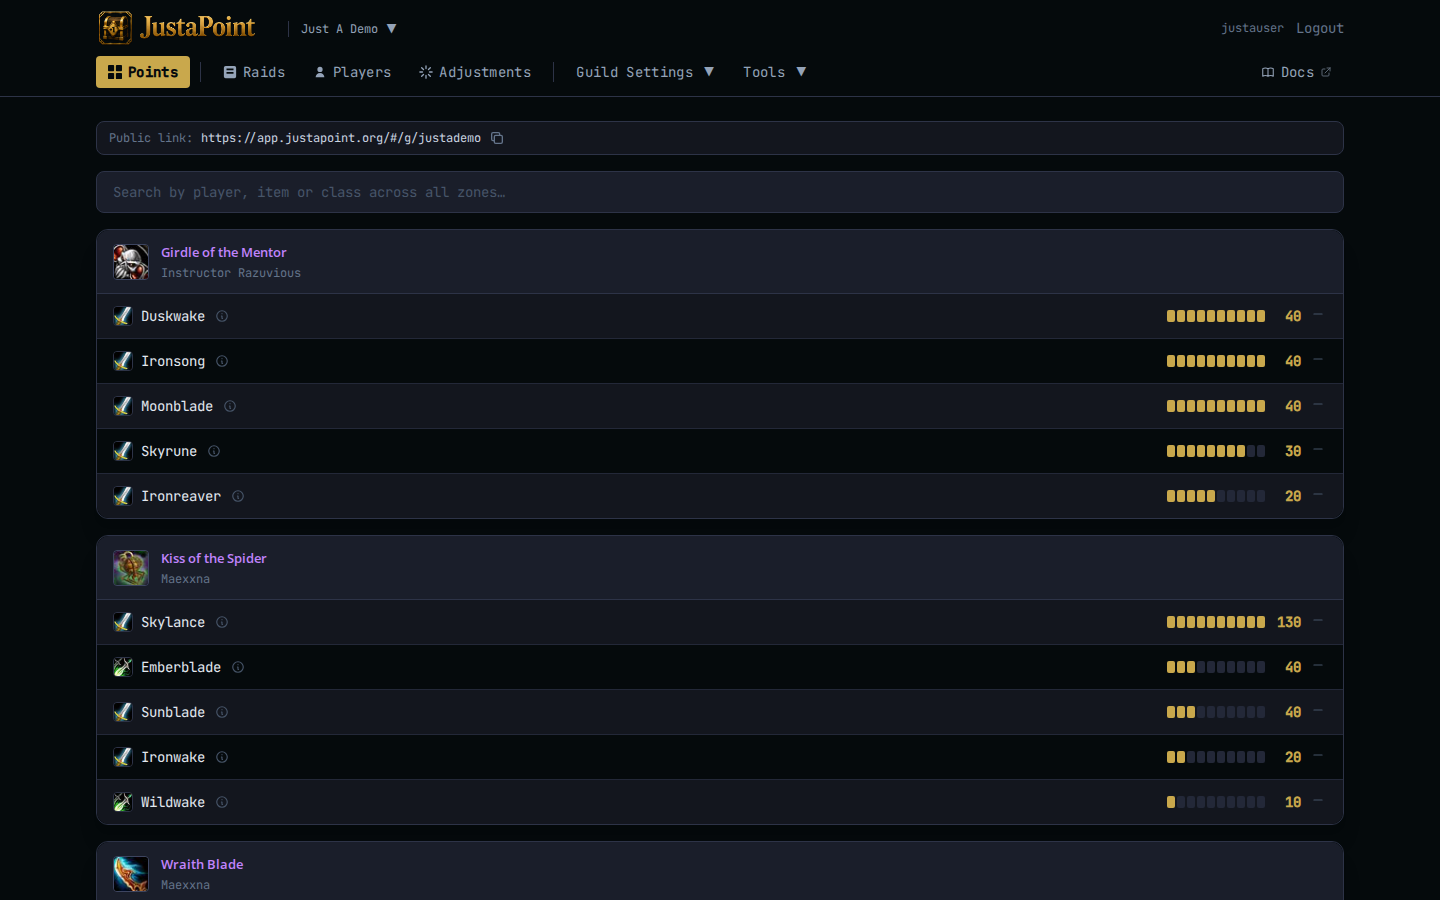
The Share the public link page covers what your raiders will see when they open it.
What’s next
After your first raid:
- Install the addon if you haven’t already.
- Adjustments for when you need to nudge points by hand.
- Buff rules if your group runs world-buff requirements.
- Your members when you want to invite other officers.